Feeling a little bit giddy about my next project… Painted pumpkins, eek! I really love pumpkins and this year I have the desire to go outside-the-box and personalize them! Painting pumpkins can be a fabulous way to let your creativity shine. No matter your style: spooky, retro, eclectic, or glam, use your favorite colors and designs and get to creating!
I can’t wait to share my project with you this weekend! In the mean time here (below) is where I’m getting some of my inspiration from 🙂
 |
| Anyone Can Decorate |
 |
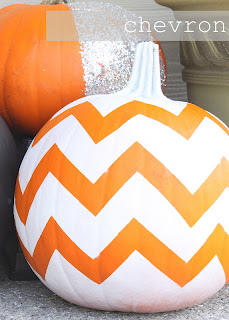
| Alabama Living |
 |
| Dearest Someday |
 |
| Alisa Burke: Redifine Creativity |
 |
| Feeling Lovesome |


