Home

Farmhouse Chic Blog

Taking expensive ideas & turning them into my own ideas!

  • Home
  • About Me
  • Blog
  • Featured On
  • Media Kit

My NEW “OLD” Bench!!

July 23, 2012 by Fotini Filed Under: diy, diy project, extra seating, rustic bench, rustic wood, sitting bench, wood bench 38 Comments

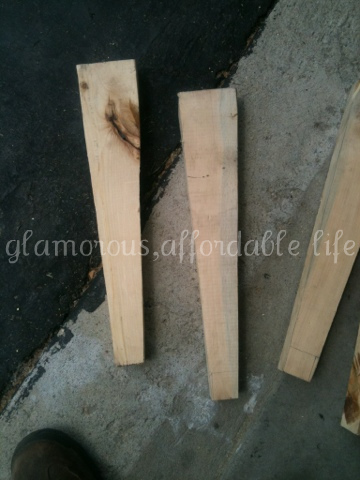
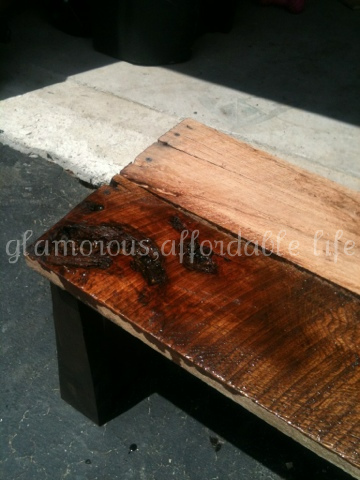
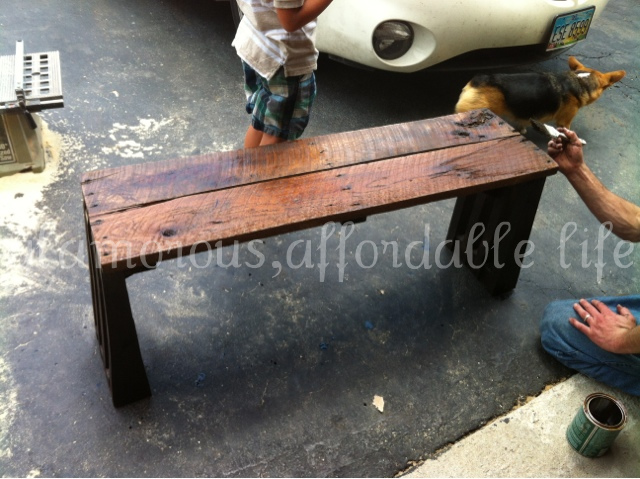
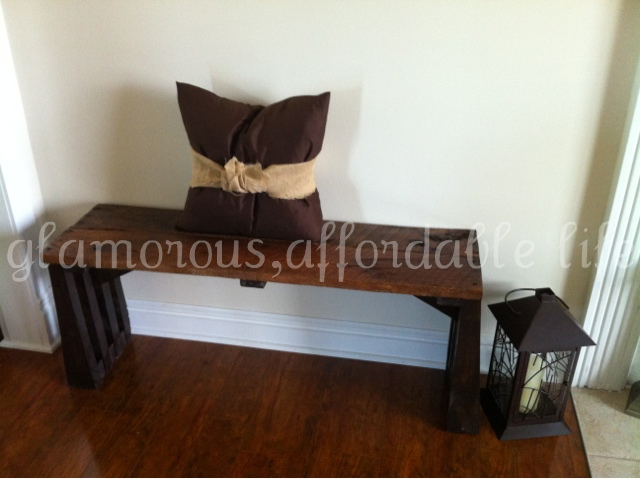
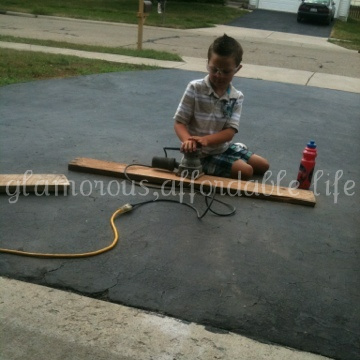
My husband promised to build a bench for our living room gallery wall (coming soon!). I was very surprised when I came home yesterday to him and our son building it!! He found two aged pieces of scrap wood that were perfect for this project, so that was our inspiration! Using what wood we already had, he came up with the design for the legs, based off of a specific style he was going for. It didn’t really turn out how he predicted, but we were both very pleased with the results!

Here’s what you’ll need:

  • 2 pieces of aged wood (ours came from a skid!) 4 feet by 6 inches by 1.5 inches
  • 1  8 foot piece of 2 X 3
  • 2  8 foot pieces of 2 X 4’s
  • wood screws
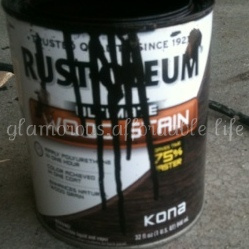
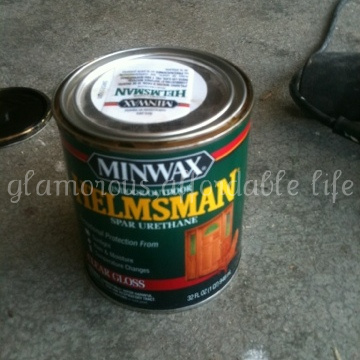
  • stain and polyurethane
  • chop saw and table saw
  • sander

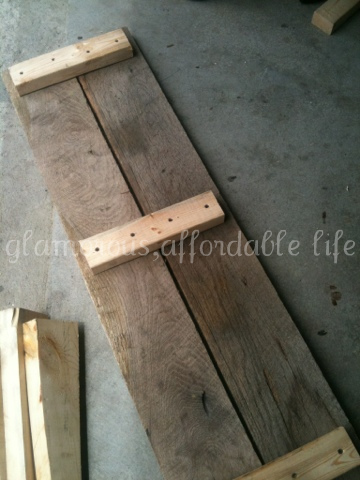
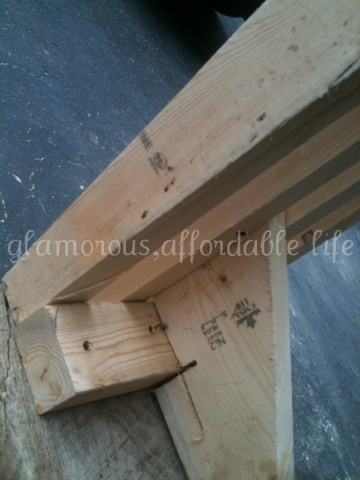
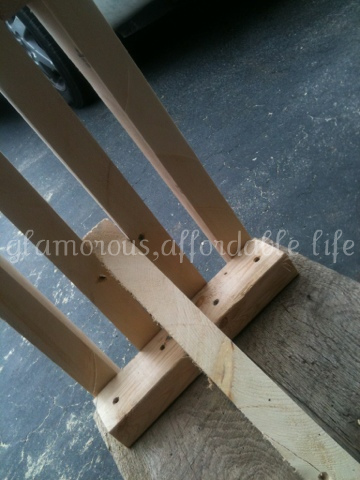
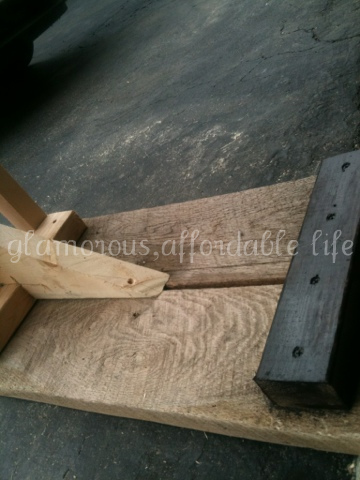
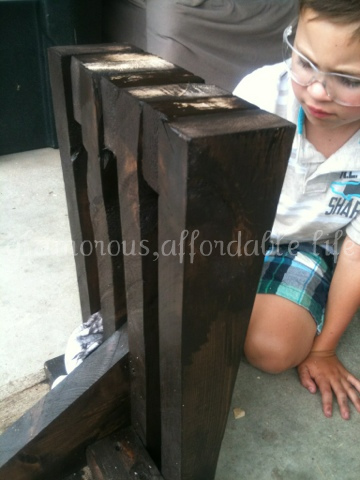
First, sand the planks to a smooth consistency. Next, we set the planks side by side and took a measurement. Ours was about 13 inches, width wise. Measure your 2 X 3’s at about 11 inches for your support braces. You will need three. Cut 8 2 X 4’s at 18 inches. Cut 6 2 X 4’s at 3.5 inches. With the 18 inch 2 X 4’s he made a chalk mark for an angle he wanted to make for the legs, then cut with the table saw. Now you will need to measure the angled side of the 2 X 4’s to know how far in to put the braces. Screw into place. Grab the 6 2 X 4’s at 3.5 inches and screw them between your angled legs. Three on each side. These will now be your sturdy legs! Screw into your end braces. Two 2 X 4’s at a 45 degree angle, serve as an additional brace to keep the legs sturdy. You’re almost done! Start staining your piece. We did not stain the top of ours because we loved that natural look. Once you are done staining, add a thick coat, or two! of polyurethane.

And there you have it! A one- of – a – kind piece you’ll have forever! I can’t wait to add some beautiful pillows and my gallery wall to really showcase this piece!!
Sharing this project on:
Six Sisters’ Stuff
The Prudent Pantry
Sumo's Sweet Stuffmop it up mondays
handmade projects
Tip Junkie handmade projects
made in a day
Lil'Luna
The DIY Dreamer
Let's Pour Tea

”Let’s

PhotobucketWhat's cooking, love?
A Crafty Soireemade in a day
IhookedupwithHoHlamespice
The Shabby Nest
the gilded hare
PhotobucketOneCreativeMommy.com
Chic on a Shoestring Decorating
Country Momma CooksPhotobucket

Mirror Makeover!!

July 16, 2012 by Fotini Filed Under: bright colors, diy, diy project, kids bathroom, mirror makeover, spray paint 32 Comments

I wanted to do the kids bathroom with a fun, unisex theme! I didn’t want it to be too girly for my son, and vice versa! My color pallet for the bathroom was going to be brights!! I will do another post for the entire bathroom reveal 🙂 To add some character to the half bath downstairs and kids bathroom upstairs, I bought two mirrors for $25 each, to replace the boring, clean- line ones currently in our bathrooms. As, I had mentioned, I wanted the kids bathroom to be bright and fun! I headed to walmart to peek at the spray paint! I found this great color, called Blue Ocean Breeze. It resembles turquoise, and I knew it would be perfect for this mirror!!

Here’s what you will need for this makeover! :

  • Mirror or frame of choice
  • white or gray primer { I used Krylon Gray Primer }
  • spray paint color of choice { mine was Krylon Blue Ocean Breeze, Gloss }
  • clear gloss finish { I used Krylon Ultra Clear Gloss Finish }
  • painters tape
  • newspaper and/or plastic

First, make sure the frame of your mirror is clean and dry. Start by using newspaper or sheet plastic to cover the mirror, hold with painters tape. (This to me, is easier than taking the entire mirror out!) I decided to spray paint outside on top of plastic, probably wasn’t the best idea due to the fact that it was quiet windy out, but it got the job done! If you plan on painting indoors, make sure your space is properly ventilated! Cover the entire piece with primer, let dry and go over it again for any missed spots. Begin applying your color of choice in long, even swipes, back and forth, to every side until covered. Let dry for a minimum of 15 minutes, and add a second coat. Let this dry for, at least, an hour. Once you have determined the entire frame is dry, add your glossy finish. If you just want a smooth shine, a soft, swift coat will do the job. If you prefer the super glossy look, lather that baby on 😉 Once completely dry, peel your newspaper/ plastic away and scrape off any paint that may have leaked through and hang your masterpiece!!

I was so excited with how this project turned out! It is definitely the statement piece in the kids bathroom and so beautiful!

My little guy taking pictures for Mommy 🙂
Sharing this project on:
mop it up mondayshandmade projects
Sumo's Sweet Stuff
Tip Junkie handmade projectsmade in a day
The DIY Dreamer
Lil'Luna
Dragonfly Designs
Visit thecsiproject.comWhat's cooking, love?
Somewhat Simple
IhookedupwithHoHlamespice
made in a day
PhotobucketChic on a Shoestring Decorating
The Shabby Nest
OneCreativeMommy.com
I Heart Nap Time


Six Sisters’ Stuff
The Prudent Pantry

Making The Most of Your Space – – Laundry Room!

July 9, 2012 by Fotini Filed Under: diy project, laundry room, organization, washer and dryer storage

One of the only things I would like a little bigger in the house is the laundry room! I spend a lot of time in there, daily, haha. Since making it BIGGER isn’t going to happen, I needed to make the most of what I do have! Thankfully, I have an amazing husband who loves doing projects with me ( for me! ), but he agreed that the laundry baskets piled up in the corner wasn’t the best..

The space for our laundry is small and narrow, and we have the Whirpool frontload washers, which are huge. Probably wouldn’t buy those again if I could take it back! But anyways, I told my hubby what I wanted, and he headed to the drawing board. He came up with a wood pedestal for the washer and dryer to rest on, with spaces for three laundry baskets underneath!

Here’s what you’ll need :

  • 4 – 2 in. by 8in. by 10 ft. planks
  • 2 – 2 in. by 3in. by 10 ft. planks
  • 1 – 4 ft. by 8 ft. by half inch plywood
  • Wood screws
  • Stain and polyurethane
  • Sander ( for preference )
  • Chop saw for planks
  • Table saw

First you want to measure your space. We made the pedestal long enough for our trash can to rest on, as well as, washer and dryer. Next, measure the length of the three laundry baskets, side by side and be sure to include space for planks in between. This is going to be the basis of your length, longer if you prefer. Cut your larger planks to size, for length and legs. Screw each set together using wood screws. Secure your work by adding the planks on the inside walls for support. Next, screw your plywood into place. For a soft, smooth feel we sanded the entire piece. For staining, my husband placed the pedestal on a small cart, which made it simple to stain the whole thing at once! Once your stain is dry, brush on a polyurethane nice and thick. Let dry overnight. When it comes to installing, keep in consideration that you will need to make a hole for your dryer vent (at least that was our case). Place washer and dryer on top and enjoy your new space!!

We spent $32 on wood. We already had all other supplies used.

American Walnut

handmade projectsmop it up mondays feature
Sumo's Sweet Stuff
Tip Junkie handmade projectshomework

The DIY Dreamer
Lil'Luna
A Crafty SoireeWhat's cooking, love?
Photobucket
IhookedupwithHoHlamespice

Photobucket
The Shabby Nest
Chic on a Shoestring DecoratingCountry Momma Cooks
Serenity you
I Heart Nap Time

Also Featured On:

Let’s Pour Tea”Let’s
Six Sisters’ Stuff
  • « Previous Page
  • 1
  • 2
AntiqueFarmHouse

Archives

Hi! I'm Fotini! Welcome to Farmhouse Chic Blog, it's such a pleasure to have you here!! Let's get to know each other... Read More…

Fotini Roman, Farmhouse Chic Blog is a participant in the Amazon Services LLC Associates Program, an affiliate advertising program designed to provide a means for sites to earn advertising fees by advertising and linking to Amazon.com
© Fotini Roman and Farmhouse Chic Blog, 2010-2015. Unauthorized use and/or duplication of this material without express and written permission from this blog’s author and/or owner is strictly prohibited. Excerpts and links may be used, provided that full and clear credit is given to Fotini Roman and Farmhouse Chic Blog with appropriate and specific direction to the original content.
Enter your name and email and get the weekly newsletter... it's FREE!
I'm so excited you've decided to get the latest from Farmhouse Chic Blog right in your inbox!
Your information will *never* be shared or sold to a 3rd party.