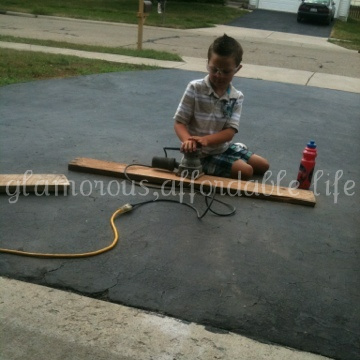
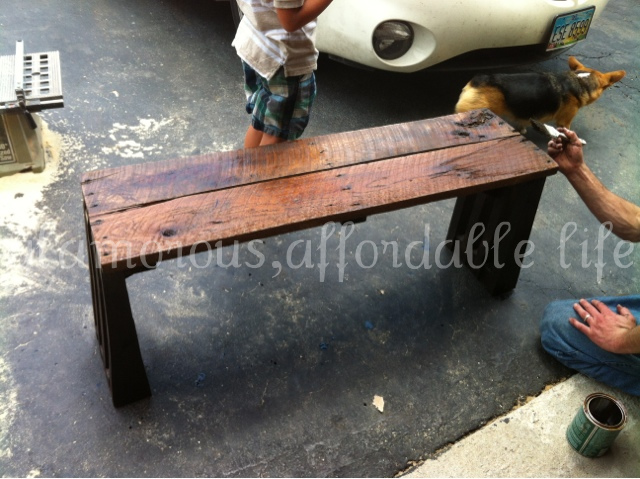
My husband promised to build a bench for our living room gallery wall (coming soon!). I was very surprised when I came home yesterday to him and our son building it!! He found two aged pieces of scrap wood that were perfect for this project, so that was our inspiration! Using what wood we already had, he came up with the design for the legs, based off of a specific style he was going for. It didn’t really turn out how he predicted, but we were both very pleased with the results!
Here’s what you’ll need:
- 2 pieces of aged wood (ours came from a skid!) 4 feet by 6 inches by 1.5 inches
- 1 8 foot piece of 2 X 3
- 2 8 foot pieces of 2 X 4’s
- wood screws
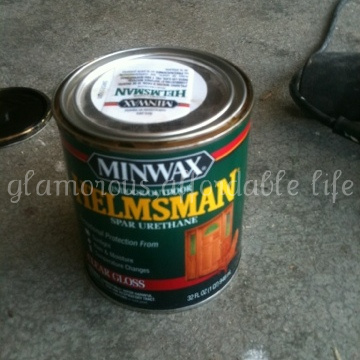
- stain and polyurethane
- chop saw and table saw
- sander
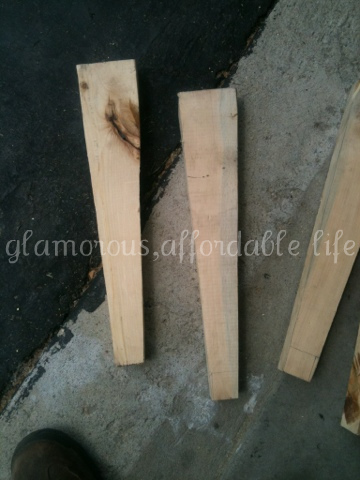
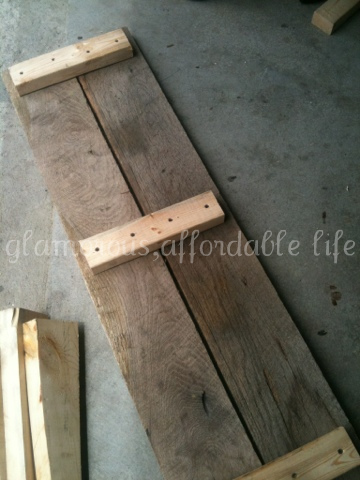
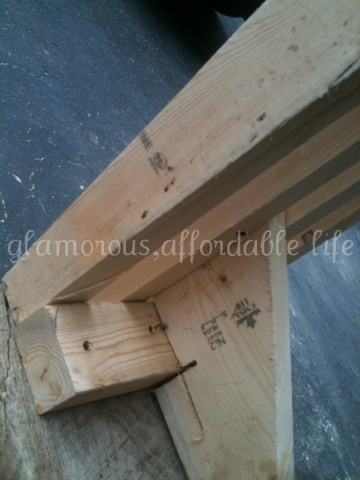
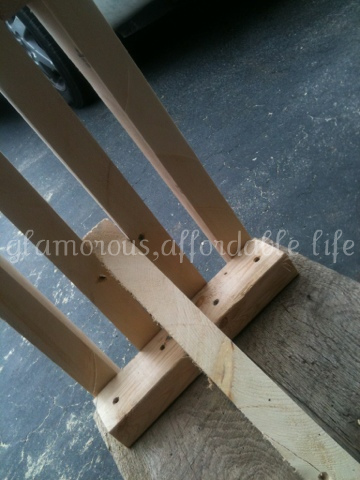
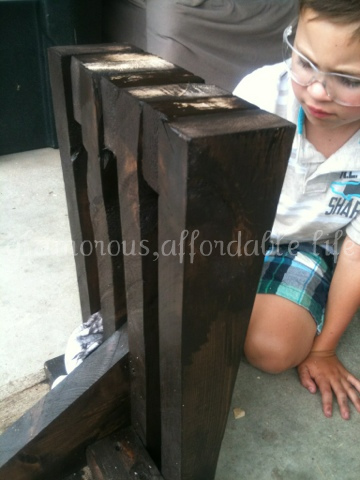
First, sand the planks to a smooth consistency. Next, we set the planks side by side and took a measurement. Ours was about 13 inches, width wise. Measure your 2 X 3’s at about 11 inches for your support braces. You will need three. Cut 8 2 X 4’s at 18 inches. Cut 6 2 X 4’s at 3.5 inches. With the 18 inch 2 X 4’s he made a chalk mark for an angle he wanted to make for the legs, then cut with the table saw. Now you will need to measure the angled side of the 2 X 4’s to know how far in to put the braces. Screw into place. Grab the 6 2 X 4’s at 3.5 inches and screw them between your angled legs. Three on each side. These will now be your sturdy legs! Screw into your end braces. Two 2 X 4’s at a 45 degree angle, serve as an additional brace to keep the legs sturdy. You’re almost done! Start staining your piece. We did not stain the top of ours because we loved that natural look. Once you are done staining, add a thick coat, or two! of polyurethane.
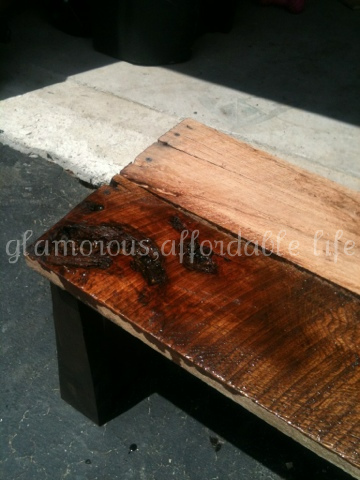
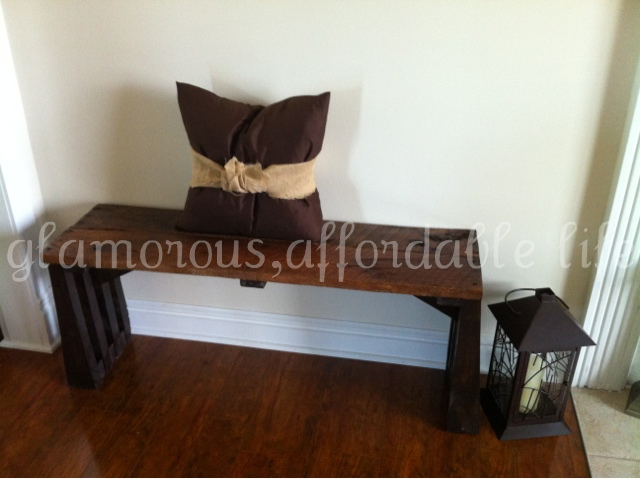
And there you have it! A one- of – a – kind piece you’ll have forever! I can’t wait to add some beautiful pillows and my gallery wall to really showcase this piece!!