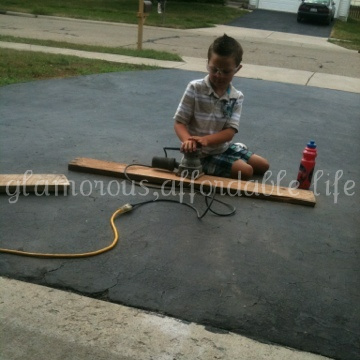
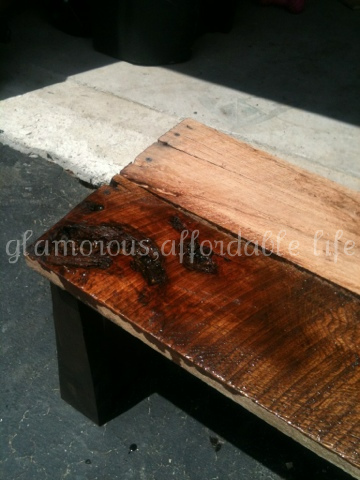
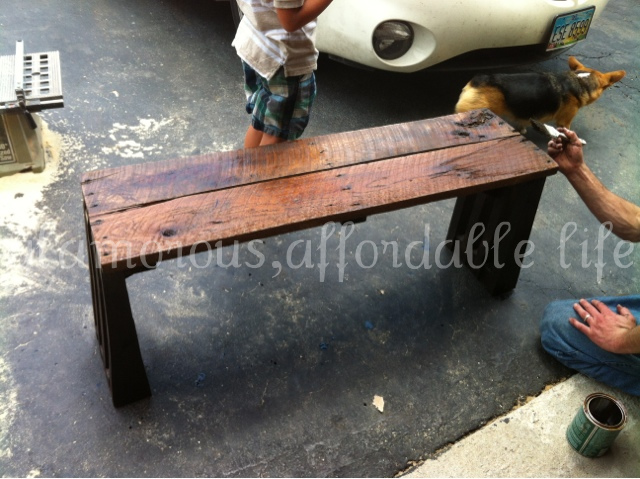
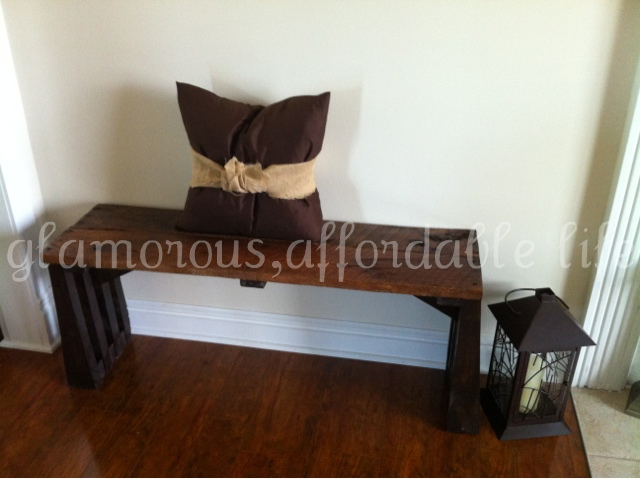
My husband promised to build a bench for our living room gallery wall (coming soon!). I was very surprised when I came home yesterday to him and our son building it!! He found two aged pieces of scrap wood that were perfect for this project, so that was our inspiration! Using what wood we already had, he came up with the design for the legs, based off of a specific style he was going for. It didn’t really turn out how he predicted, but we were both very pleased with the results!
Here’s what you’ll need:
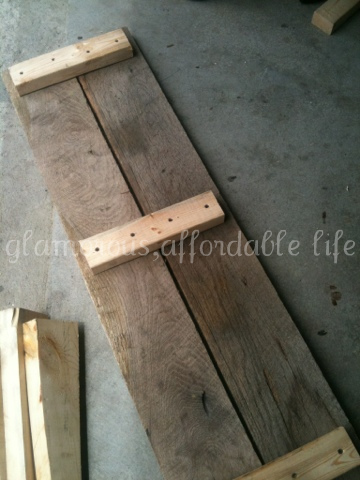
- 2 pieces of aged wood (ours came from a skid!) 4 feet by 6 inches by 1.5 inches
- 1 8 foot piece of 2 X 3
- 2 8 foot pieces of 2 X 4’s
- wood screws
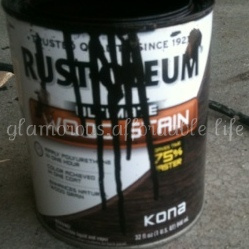
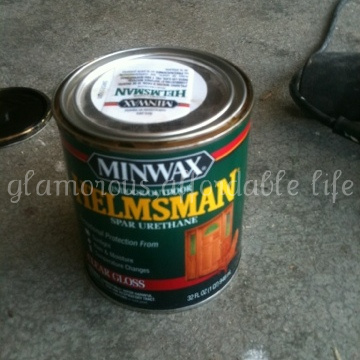
- stain and polyurethane
- chop saw and table saw
- sander
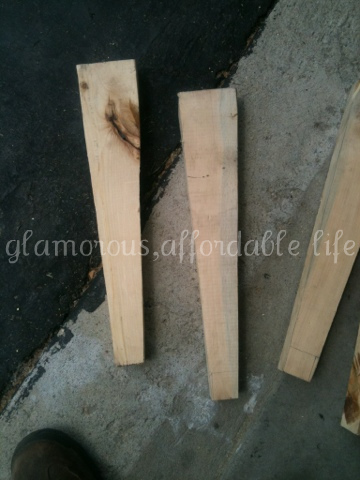
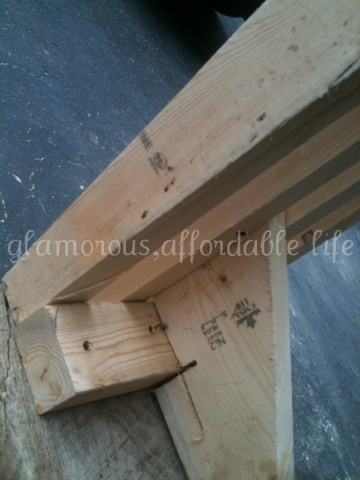
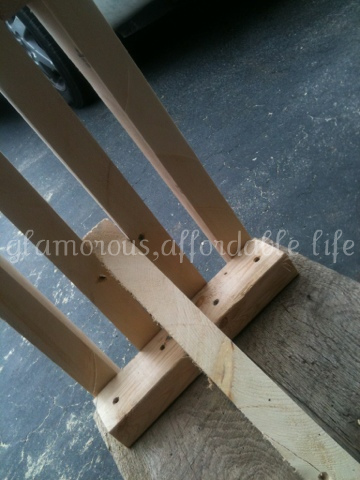
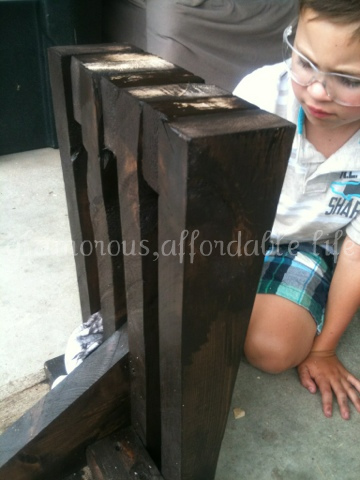
First, sand the planks to a smooth consistency. Next, we set the planks side by side and took a measurement. Ours was about 13 inches, width wise. Measure your 2 X 3’s at about 11 inches for your support braces. You will need three. Cut 8 2 X 4’s at 18 inches. Cut 6 2 X 4’s at 3.5 inches. With the 18 inch 2 X 4’s he made a chalk mark for an angle he wanted to make for the legs, then cut with the table saw. Now you will need to measure the angled side of the 2 X 4’s to know how far in to put the braces. Screw into place. Grab the 6 2 X 4’s at 3.5 inches and screw them between your angled legs. Three on each side. These will now be your sturdy legs! Screw into your end braces. Two 2 X 4’s at a 45 degree angle, serve as an additional brace to keep the legs sturdy. You’re almost done! Start staining your piece. We did not stain the top of ours because we loved that natural look. Once you are done staining, add a thick coat, or two! of polyurethane.
And there you have it! A one- of – a – kind piece you’ll have forever! I can’t wait to add some beautiful pillows and my gallery wall to really showcase this piece!!


Wow….a woman with tools! I love it! Very cute bench…thanks for sharing. I’m here through the blog hop…do hop over and visit sometimes!
Sharon, thank you so much for stopping by! I’m glad you checked out my latest project! I must admit, this bench was my husbands doing!! He’s quite the craftsman 🙂
The bench looks great. I love how the color turned out. Maybe it was your husband’s doing, but he couln’t have made it without your ideas. 🙂
Marie, thank you!!
Love it! Fantastic job!! Thank you for sharing this at my Make it Pretty Monday party at The Dedicated House. Hope to see your prettiness again on Monday. Wishing you a grand week. Toodles, Kathryn @TheDedicatedHouse
Thank you Kathryn!
Great job on your bench! I need one for the foot of my bed like this one.
Thank you! This piece is so versatile, I love it!!
Gorgeous~! I have several places in my home that could benefit from a new old bench!
That’s awesome! If you give it a- go, be sure to share it with us!!
LOVE your new ”old” bench!! It looks really GREAT!
Thank you so very much for sharing this at The DIY Dreamer.. From Dream To Reality!
Thank you Christine 🙂
Fantastic job! You can sell that. Easy to place anywhere. Thanks for sharing! I’m now your latest follower through MadeInaDay Blog Hop.
Best regards,
Donna
Award-winning Children’s Author
Write What Inspires You Blog
So pleased to have you Donna, thank you!
I love the kids involved~ that’s how things are around our house, too!! And the bench looks like a fun thing to try! Love your blog!!
Our little guy LOVES to help out!!
I am gathering idea for a little bench to put in our bathroom…yours looks great!
Thank you!
YOur bench came out very well. Thanks for linking up at Friday Fun Party. Have a nice weekend. 🙂
Thank you Hani!!
I love this. I’m also looking for stuff to reuse. I’m stopping by from the blog hop.
Thank you!
it looks awesome! i love the warm rustic look!
Thanks so much!
That looks so cute! Your husband did a nice job!
Thanks for linking up and sharing this week!
Stacey of Embracing Change
Thank you Stacey!
I think it turned out awesome! I have a space behind my front door where a mini version would look great.
If you get a chance, I would love for you to come link up your tutorial at my Pin Party.
http://sarahdawndesigns.blogspot.com/2012/07/pintastic-monday-link-party-2.html
Sarah, thanks for visiting!!
i love the way this turned out! it’s even more awesome that you were able to use wood you already had. i’m featuring this bench on my blog this week:
http://www.thegildedhare.com/2012/07/get-your-craft-on-8.html
have a good day!!
That’s great, thank you so much!!
Awesome job! The bench looks fantastic. Thanks so much for linking up at One Creative Weekend! I hope to see you back at the party tomorrow.
Thanks so much 🙂
The bench looks amazing! Thank you for sharing this at Saturday Show and Tell. I can’t wait to see what you have for this week! I look forward to seeing you there.
-Mackenzie
http://www.cheeriosandlattes.com
Thanks for stopping by CountryMommaCooks and linking up at our Saturday Link and Greet Party…hope to see you again tonight : )
Deana @ CountryMommaCooks
The bench looks awesome…great tutorial! Your newest follower form the BLog Hop Social.
Anissa from Chasing Hailey
http://chasinghailey.blogspot.com/
Thank you Anissa! Checked out your blog too, your little one is just a doll!! Hope to see ya again soon 🙂
The bench looks great! I love warm rustic look , and how the color turned out.Quality Beds and Mattresses
That looks so cute! and thanks for this tutorial.BED STORE EDINBURGH