Home

Farmhouse Chic Blog

Taking expensive ideas & turning them into my own ideas!

  • Home
  • About Me
  • Blog
  • Featured On
  • Media Kit

First day of school 2015

August 5, 2015 by Fotini Filed Under: back to school, Pinterest 1 Comment

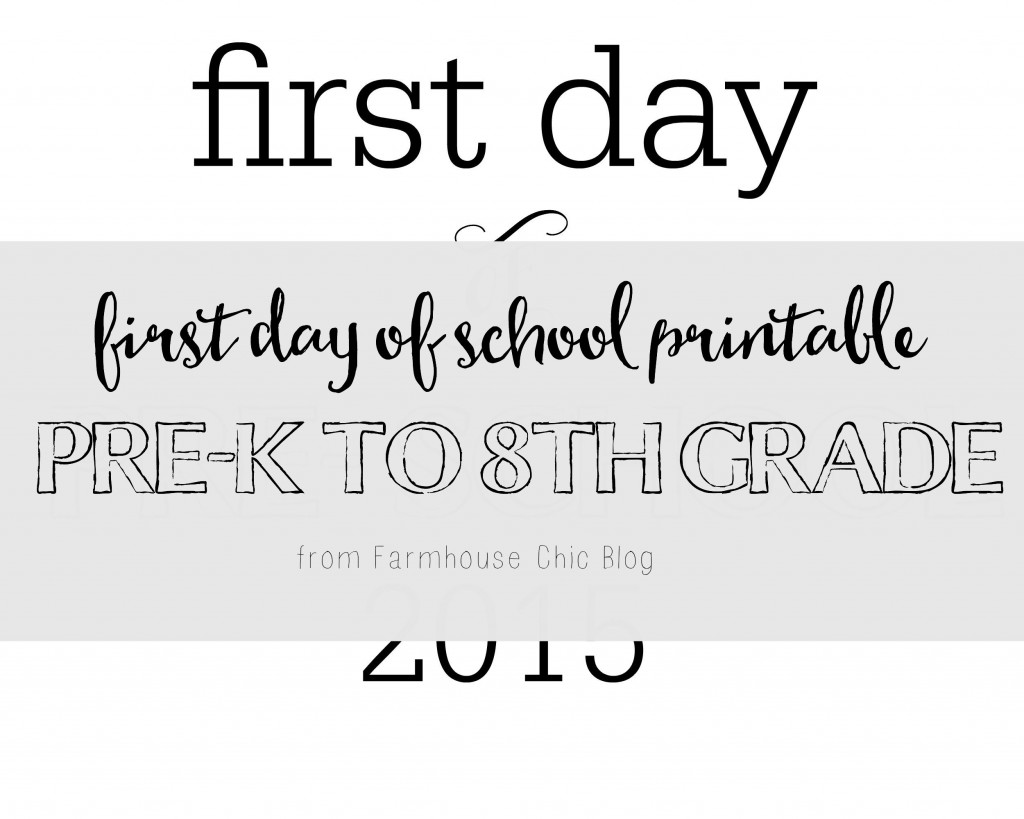
Hi there! You’ve heard me say it lately, but I’ll say it again… I cannot believe it’s back-to-school time, already! My little ones are anxious to get back, see friends, meet new people, see their classrooms, meet their teachers and everything else that comes with it! I remember, so well, the excitement of the first day of school. And I’m so glad my little ones build up that same excitement!
first day of school printable

[Read more…]

Big changes around here

July 30, 2015 by Fotini Filed Under: Uncategorized 3 Comments

Hey you! I wanted to fill you in on some SUPER exciting changes that are going to be taking place around this little blog of mine! I am changing my name from Glamorous, Affordable Life to Farmhouse Chic Blog! I honestly couldn’t be more excited for this change!

change

[Read more…]

BRIGHT School Year

July 29, 2015 by Fotini Filed Under: diy, printable 2 Comments

Hey you! Thanks so much for stopping by today! Can you believe that school starts in the next few weeks? Good gracious, where has Summer gone? I hope you all have had a wonderful, memorable Summer! It has a been a busy Summer for us around here, but it’s been great!

I’m glad to have you here today! Do you do a little gift for your kids teachers on the first day? If so, I’m sharing a printable I’ve made for you to add to any gift you create and also, the teacher gifts the kids and I put together!

printable

click image to download

[Read more…]

She lived…

July 27, 2015 by Fotini Filed Under: diy, home decor 16 Comments

Hi friends! It just blows me away how time is flying by… Do you feel the same way? It’s hard for me to believe that we’ve lived in our house for over 3 years now, and my youngest babe is going to pre-school this year! My goodness, it’s all happening so quick!

That’s just it, life doesn’t stop, it only seems to go faster as you grow older. Creating a life that you love is what has inspired me for the project I’m sharing with you all today!

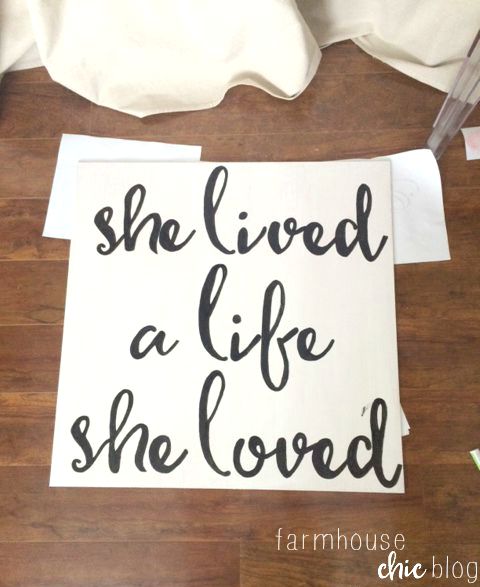
DIY wood art

You may recall me sharing a I created for earlier this month. You can find that post and free print ! I just love this saying, “she lived a life she loved”… At this time in my life, I am so happy right where I am! It hasn’t always been this way though, just like everyone else, our little family has had its trials and tribulations. Yet, here I am standing tall and loving every minute of every day! I hope you are at the stage in your life too! If you aren’t, don’t worry, just continue to pray for what it is you want and be faithful! Feel free to leave me a comment and I will pray for you too.

For this project you are going to need the following items:

1 sheet of hardwood sanded plywood 1/4 cat

1 piece of spruce pine furring strip 1in X 3in X 8ft.

1 piece of spruce pine furring strip 1in X 1.5in X8ft.

table saw

short screws, drill

nails and nail gun

paint & paint pen

The great thing about this project is, it isn’t intimidating and something you can easily create! Yay! I shopped at Lowe’s for my supplies. I had them cut the sheet of plywood into 8 sections right there in the store! If you already know your measurements, I really recommend this because it saves you the hassle! Once you’re home, measure the length of the 1″x 3″pine to 25″x25″ and cut using a table saw. We didn’t angle the corners, but that is an option if you’re going for a more intricate look. Connect your wood frame using nails and your nail gun. Two in each corner, for a total of 16 altogether should do the trick. Using the smaller strip of pine, cut 4 pieces into about 20″ strips. Secure these to the edge of each piece of the frame using your short screws and drill. This will create a backing for the plywood to rest on.

Since your plywood is already cut and ready to go, simply paint it your desired color. In my case, I painted it white using a and gave it a good two coats. Once it was dry, I printed out the words and traced it onto the plywood. To fill the letters in, I used a black paint pen. I have kind of had a love/hate relationships with paint pens. I’ve used them in the past and they just splatter everywhere, completely ruining my work. So, I was super skeptical to use it for this project, but I took my time and I really like specific pen I used. It is made by and works like a charm!

DIY wood art

DIY wood art

Once you’re done hand painting your quote, allow plenty of drying time. You don’t want to mess up your beautiful piece of art!! Since the frame is made to fit the plywood perfectly, simply slide it into place and voila, it’s a masterpiece 😉 At least I think so!

I’m so happy with how simple and sweet this sign is! It has found its home in my office, where I catch myself staring at it and smiling, often! I have this beauty for sale in my Etsy shop too, if you’re interested in purchasing one!

Thanks for stopping by, have a wonderful week!!

Sharing this project on these lovely blogs!

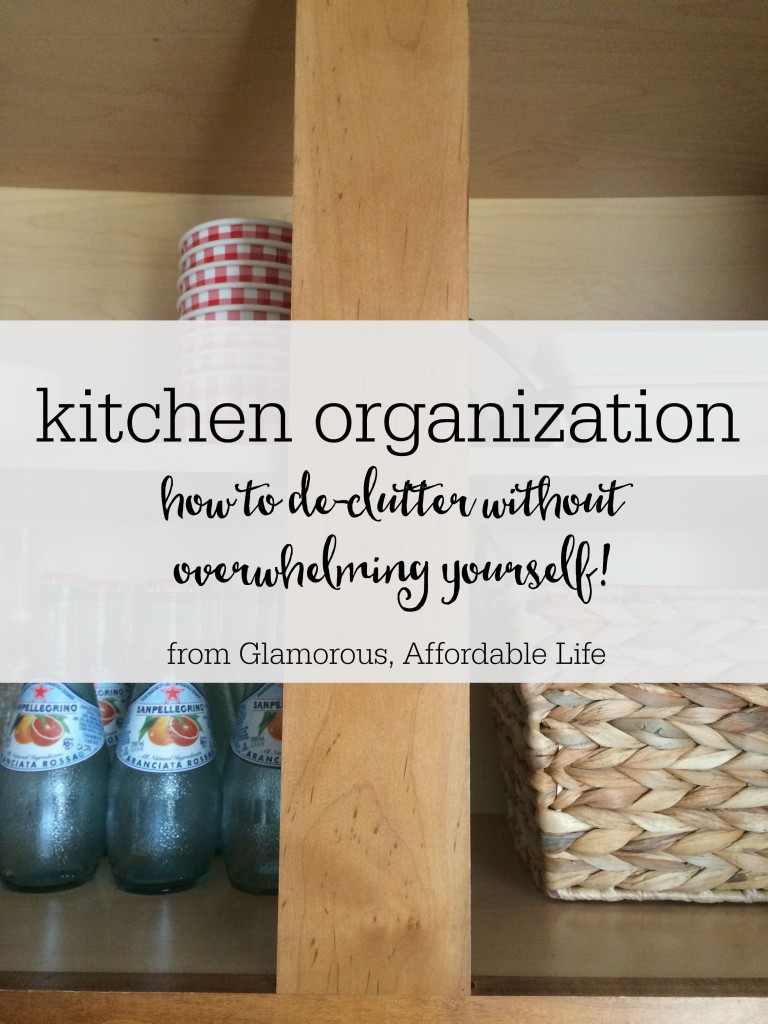
Kitchen organization

July 20, 2015 by Fotini Filed Under: diy 4 Comments

Hi! Thanks for stopping by today! Today I’m sharing with you just a tiny peek into my struggle with kitchen organization. Sounds crazy right? It’s the room we spend the most time it (it seems), yet it’s the most cluttered. Luckily, it’s all behind the cabinet doors. But, when someone asks to borrow something from one of those messy cabinets, I’m making ninja moves so they don’t SEE inside. Okay, not really, but I do feel embarrassed and feel overwhelmed when I’m looking for something myself. It’s the truth. How did it get this way?

organization

[Read more…]

Fab pins of the week

July 17, 2015 by Fotini Filed Under: fab pins of the week, home decor, Pinterest, recipes 504 Comments

Hey you! Welcome and Happy Friday!! I’m thrilled to be in Atlanta at the Haven Conference with some of my favorite bloggers ever!! I will be sure to update you on all the details when I get back!

home [Read more…]

Real talk

July 15, 2015 by Fotini Filed Under: crafts, diy, home decor 4 Comments

I just wanted to take a moment to write a post on how I’ve been feeling lately. I started blogging while I was preparing for my wedding back in 2010. I continued after my wedding, another baby, first home and many more exciting milestones! I continued because I was excited to share with anyone willing to listen!

real talk

I still blog solely because I love sharing my passions for crafting and creating for anyone listening and reading! However, blogging is huge and I often times feel like just a little fish in this big, big sea. There are so many incredible, talented bloggers that I’m constantly inspired by, but at the same time, I try to hold myself up to that standard of design. The truth is, we are a family on a budget, just like many other’s out there! I, by no means, make a lot of money blogging, but I would absolutely love to get to that point! And that is where I have to realize that I just need to be happy with the journey and where I am and what I have now. Blogging is just like retail. You need to keep your decor fresh, constantly changing and trendy. However, that can be really costly and completely unrealistic for most people!

I’m just trying to create a beautiful, happy home for my family! I’m still finding out my style and what I’m comfortable with. I’ve come to realize it’s just about staying true to yourself and not getting out of control with all the influence around you. I hope that you continue to stick around with my little journey here at Glamorous, Affordable Life and hope it continues to grow!

Just like anyone else with a passion, I continue to grow and learn new things. And tomorrow I’m headed to the Haven Conference in Atlanta, Georgia with a couple bloggy friends and I couldn’t be more excited! I will have the chance to meet some of the bloggers that continue to inspire me daily, too! I really look forward to attending the event and hope it opens up some doors for me that I’ve been waiting for! I can’t wait to share and update you on my experience when I get back!

Thanks for sticking around and letting me “vent” a little! I’m just trying to keep it real with you all! Until next time <3

Office updates

July 13, 2015 by Fotini Filed Under: diy, home decor, Uncategorized 1 Comment

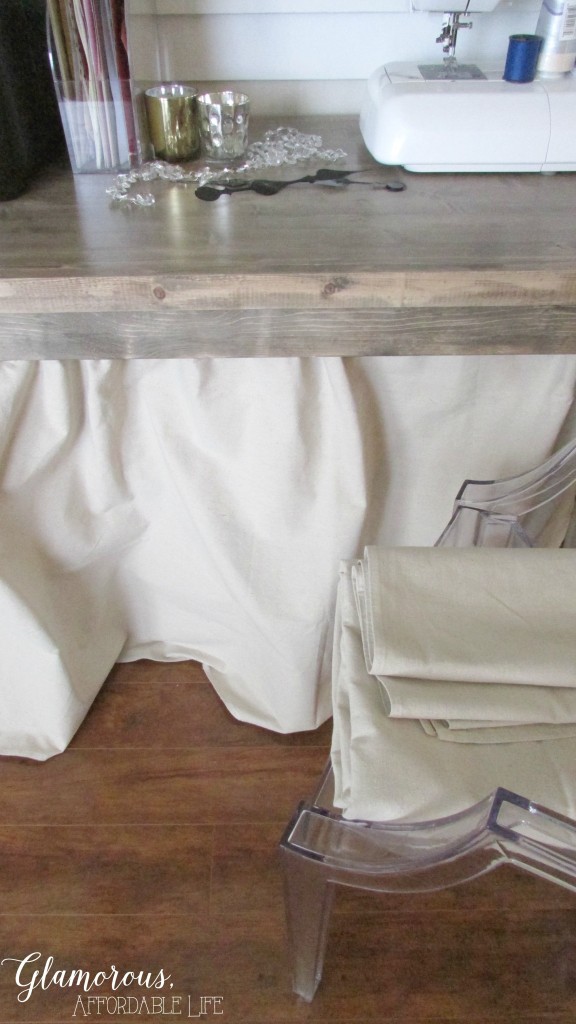
Hey you! I haven’t had much time to work in my office lately, as a matter of fact, it was acting as a storage area for some furniture we were needing to sell for awhile. Needless to say, it’s been a neglected space for the last few weeks. But now I have my space back, and I can’t wait to get back to decorating it!

There’s still lots to do, but I wanted to share a few peeks with you all on the progress so far!

home office

home office

office

home office

I’m incorporating some of my favorite fabrics, materials and colors into my design. It’s going to be a rustic chic feel, with pops of leopard (because who doesn’t love leopard!) Lots of neutrals and glitzy glam to dress things up!

As I mentioned, I’m really no where close to being done! I have a distinct vision in my head, and I want to make sure I capture every detail of it! With that said, what do you think of my space so far? What fun, details would you add to this space to make it your own?

Sharing on these lovely blogs!

Red, white & blue

June 30, 2015 by Fotini Filed Under: crafts, diy, fab pins of the week, home decor, Pinterest 1 Comment

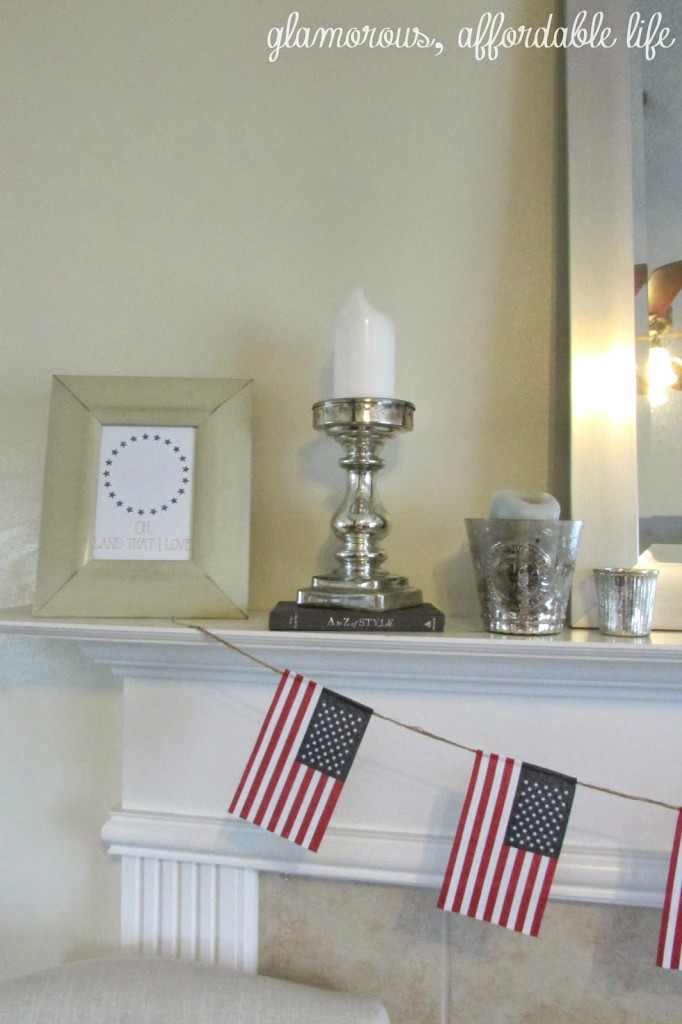
You’ve heard me say it before, I love decorating for the 4th of July! This year is a little different for our family, we will be spending the Holiday in the Bahamas for a family vacation! Despite the fact I haven’t decorated much around the house (since we won’t be here), I have still been getting completely inspired!

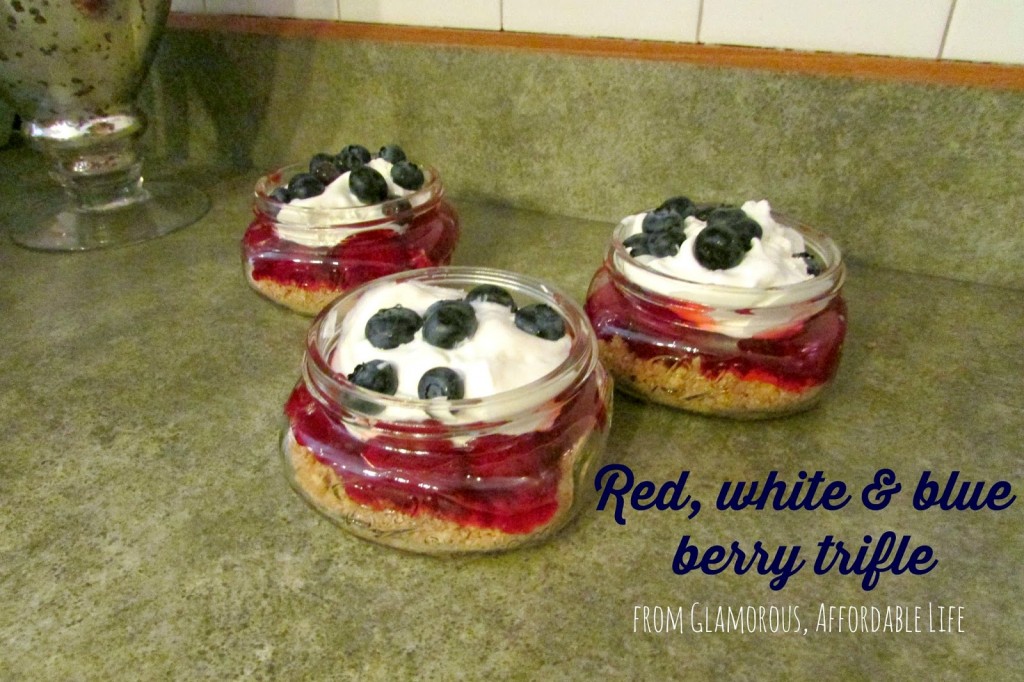
I’m  sharing some of the great red, white & blue projects I’ve shared in the past! Click on the image for the original post!

red white blue

red white blue

red white blue

red white blue

red white blue

red white blue

red white blue

red white blue

I hope you have a wonderful 4th of July weekend!! Be safe and enjoy the presence of the friends and family you love!

DIY botanical prints

June 23, 2015 by Fotini Filed Under: crafts, diy, Uncategorized 2 Comments

“This post is part of a social shopper marketing insight campaign with Pollinate Media Group® and Glad, but all my opinions are my own. #pmedia #pressnsealhacks http://my-disclosur.es/OBsstV”

Hi there and welcome! I’m pretty excited to share this simple, fun project the kids and I did this week using Glad Press’n Seal I picked up at Walmart. The days have been rainy nearly everyday here in Ohio, so I’m left finding ways to keep the little ones busy indoors! The great thing about this project is it can be done all year around!

diy botanical prints

A few things you’re going to need for this project are: a roll of Glad Press’n Seal, scissors, live leafs of any kind, kraft paper, stamps, ink and glue stick.

To begin, pull out and rip off a piece of the Glad Press’n Seal to your desired size. Lay it with the sticky side up. Grab a leaf or group of leaves you’ve chosen and press into place. Using kraft paper, stamps and ink, create labels according to the type of plant. Use a glue stick to hold into place. Grab another piece of Glad Press’n Seal, the same size as the first, and place sticky side down. Using your hands, push over the entire piece, leaving little to no air inside. Trim the ends and sides if needed, and voila! You now have your own little piece of botanical art!!

It’s amazing to think that a kitchen product could be used for so many different, creative things, but it’s endless! Using your imagination and creativity you can create anything! This is such a cool product because it adheres to nearly any surface!

The kids and I had a really fun time making these DIY botanical prints with leaves from around our yard! They can’t wait to make more using leaves from plants in our garden!

diy botanical print diy botanical print  diy botanical print

diy botanical print

diy botanical print

So what do you think? That’s easy enough, right?! What are a few creative ways you could use this product for more than just in the kitchen?

It was such a pleasure to have you here today! Thanks for stopping by <3

Sharing this project on these blogs!

  • « Previous Page
  • 1
  • …
  • 22
  • 23
  • 24
  • 25
  • 26
  • …
  • 72
  • Next Page »
AntiqueFarmHouse

Archives

Hi! I'm Fotini! Welcome to Farmhouse Chic Blog, it's such a pleasure to have you here!! Let's get to know each other... Read More…

Fotini Roman, Farmhouse Chic Blog is a participant in the Amazon Services LLC Associates Program, an affiliate advertising program designed to provide a means for sites to earn advertising fees by advertising and linking to Amazon.com
© Fotini Roman and Farmhouse Chic Blog, 2010-2015. Unauthorized use and/or duplication of this material without express and written permission from this blog’s author and/or owner is strictly prohibited. Excerpts and links may be used, provided that full and clear credit is given to Fotini Roman and Farmhouse Chic Blog with appropriate and specific direction to the original content.
Enter your name and email and get the weekly newsletter... it's FREE!
I'm so excited you've decided to get the latest from Farmhouse Chic Blog right in your inbox!
Your information will *never* be shared or sold to a 3rd party.